Why Artists Choose Vellum as a Painting Surface
Vellum, with its smooth and durable surface, has been a cherished medium for artists throughout history. Its ability to hold paint with precision and luminosity makes it an ideal canvas for delicate and intricate artwork. If you're intrigued by the idea of painting on vellum but unsure where to begin, fear not! In this guide, we'll explore the essential steps to master this timeless art form.
Materials Needed:
1. Vellum paper: Select a high-quality vellum paper suitable for painting. It should have a smooth surface to ensure optimal paint adhesion.
2. Paint: Choose your preferred type of paint, such as watercolor, gouache, or acrylic. Ensure the paint is suitable for vellum and won't cause smudging or bleeding.
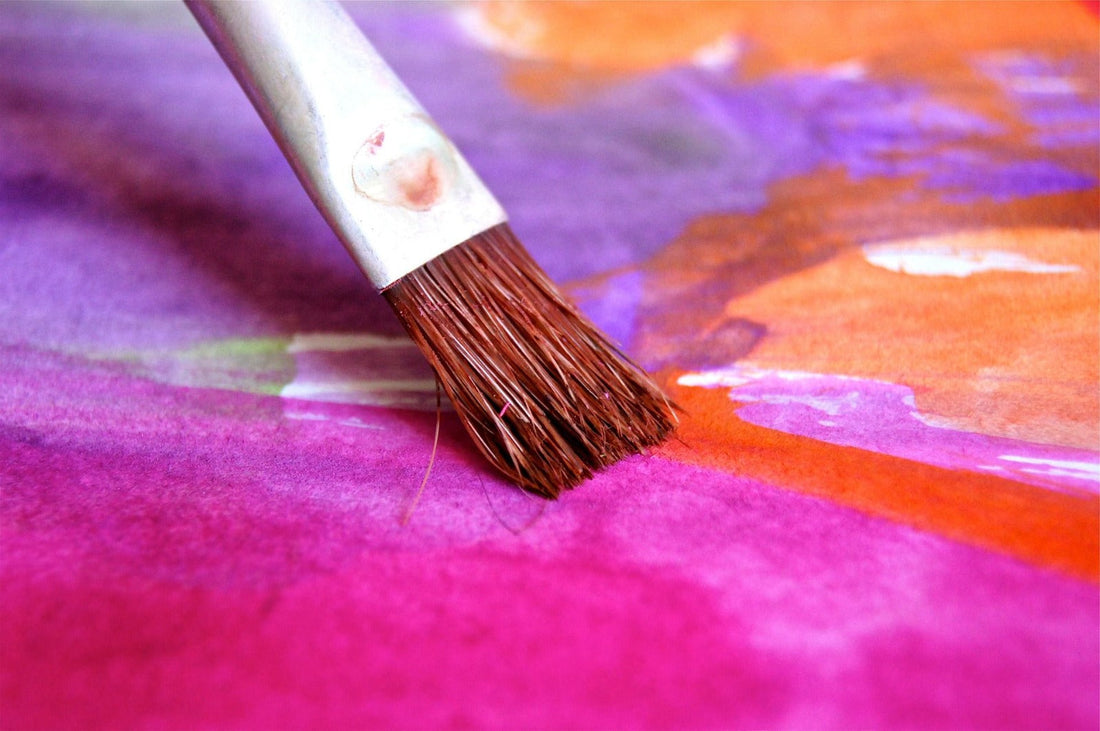
3. Brushes: Invest in a set of fine brushes suitable for detailed work. Different brush sizes and shapes will allow for versatility in your painting.
4. Palette: Use a palette to mix and dilute your paint colors as needed. A smooth surface like glass or plastic works well for this purpose.
5. Masking tape or clips: Secure the vellum paper to a flat surface to prevent it from moving while you paint.
6. Pencil and eraser: Sketch your design lightly on the vellum before painting to guide your composition
Step 1: Prepare Your Workspace
Set up a clean and well-lit workspace conducive to creativity. Ensure your vellum paper, paints, brushes, and other materials are within reach. Cover your work surface to protect it from any accidental spills or stains.
Step 2: Sketch Your Design
Using a pencil, lightly sketch your design onto the vellum paper. Take your time to outline the shapes and details accurately. If needed, use an eraser to make corrections until you're satisfied with the composition.
Step 3: Mix Your Paint
Squeeze out small amounts of your chosen paint colors onto the palette. Dilute the paint with water or a suitable medium to achieve the desired consistency. Experiment with different color combinations to create depth and vibrancy in your artwork.
Step 4: Begin Painting
Start applying paint to your vellum paper with a steady hand and a fine brush. Work in thin layers, building up the colors gradually to avoid smudging or overloading the surface. Pay attention to the intricate details of your design, using varying brush strokes to add texture and dimension.
Step 5: Allow for Drying Time
After completing each section of your painting, allow it to dry completely before moving on to the next. This will prevent colors from blending unintentionally and ensure crisp, clean lines throughout your artwork.
Step 6: Finishing Touches
Once your painting is fully dry, assess it for any areas that may need touch-ups or additional details. Use a fine brush to refine the highlights, shadows, and fine lines as necessary. Take your time with this step to achieve a polished and professional finish.
Step 7: Protect Your Artwork
Once your painting is complete and fully dry, handle it with care to avoid smudging or damaging the surface. Consider framing your artwork under glass to protect it from dust, moisture, and UV exposure, preserving its beauty for years to come.
Conclusion:
Painting on vellum offers artists a unique and rewarding creative experience. With patience, precision, and attention to detail, you can create stunning works of art that showcase the translucent beauty of this exquisite medium. So, gather your materials, unleash your imagination, and embark on your journey to master the art of painting on vellum!
